
















Fundus Photography in the Practice: Equipment, Capture Workflow and Image Quality
Fundus photography for eye-care teams: the equipment specs that matter, a step-by-step capture workflow, flash timing, artefact fixes and image export.
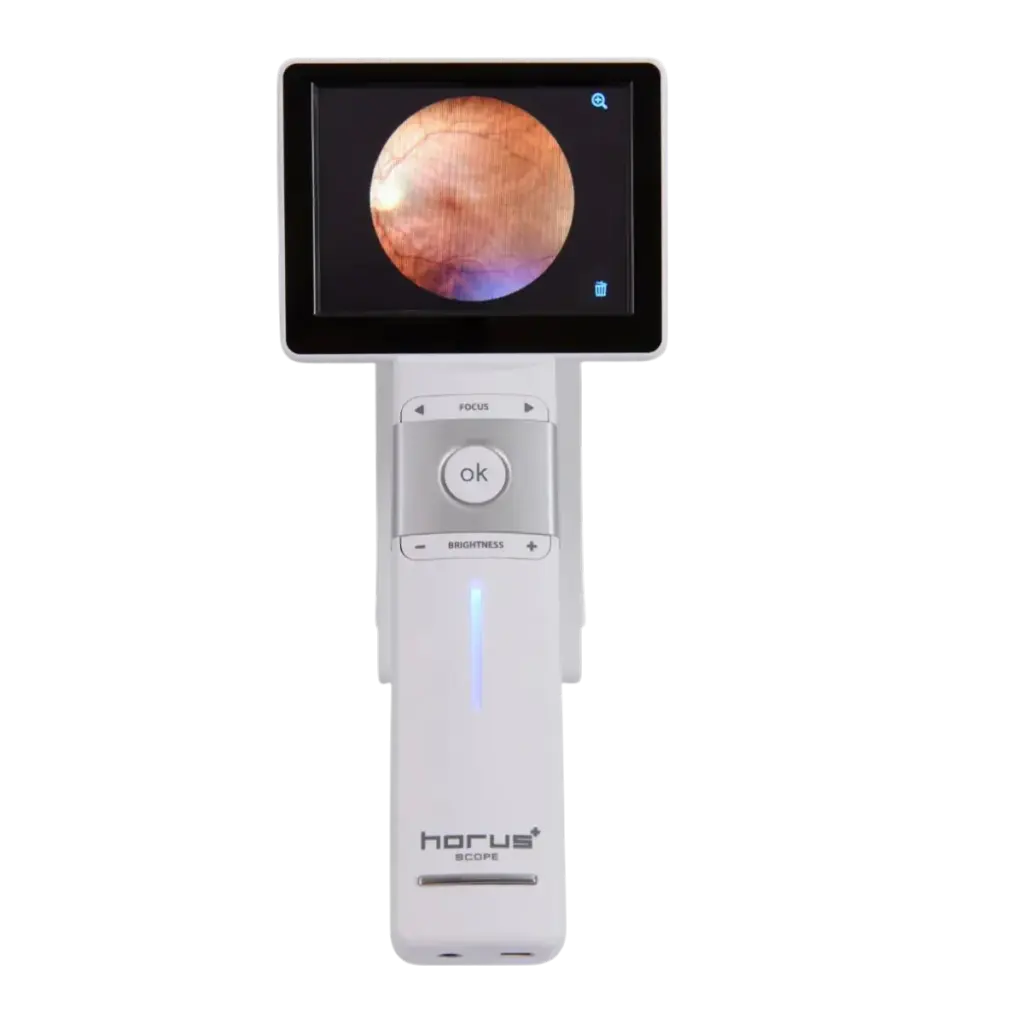
Fundus photography looks simple from the outside: seat the patient, press a button, get a picture of the retina. In practice, the gap between a camera that produces gradable images all day and one that produces retakes comes down to workflow. That means room lighting, patient prep, alignment, focus, flash timing and a quick quality check before the patient leaves the chair. This guide is written for the people who run the camera and the people who manage them: optometrists, ophthalmologists, techs and practice managers. It covers the equipment, a step-by-step capture routine, the artefacts you will see and how to fix them, and how to hand images off to your records system.
If you are still choosing a camera type, start with our non-mydriatic vs handheld fundus camera buying guide. This article assumes the camera is on the table and focuses on getting good images out of it.
Shopping for Browse retinal & fundus cameras? US Ophthalmic is a direct provider of Browse retinal & fundus cameras to eye care practices across the US. Tell us how your lane is set up and we will come back with the configurations that fit, plus current availability and lead times.
What a “good” fundus photograph actually means
A clear working definition keeps everyone on the same standard. The Community Eye Health Journal puts it plainly: a good quality image “is sufficiently clear to identify the anatomy of the fundus, including the macula, the optic disc, and the blood vessels.”
Published grading scales turn that into something staff can check in seconds. One teleophthalmology study graded non-mydriatic images as excellent when blurred areas covered less than 25% of the fundus field, good at 25–50% while the main structures were still clearly identifiable, and poor when more than 50% was obscured or the disc, macula and vessels were out of focus. Another screening study called an image unacceptable when at least two-thirds of it could not be assessed clearly. It also logged artefacts (lighting changes, dust, loss of focus) separately, even when the image could still be read. That distinction is useful: an image can carry an artefact and still be usable, or be clean and still be unusable because it is out of focus.
Fundus photography equipment: what the workflow depends on
Every camera does the same job, but a few specifications decide how forgiving the workflow will be. Read these lines on any spec sheet before you build your routine around the camera.
| Spec | Why it matters at capture | Example from our line |
|---|---|---|
| Field of view | Sets how many images you need to cover the posterior pole. A 45° field covers far more retina than a 30° field. | Ezer EFC-2600: 45°. MiiS fundus camera: 45°. |
| Minimum pupil size | Determines how often you can work without drops, and how many retakes small pupils will cost you. | EFC-2600: 4.0 mm. |
| Working distance | The lens-to-eye distance you must hold. It is where most edge flare comes from. | EFC-2600: 25 mm. |
| Focus range | Whether high myopes and hyperopes can be focused without a compensation lens. | EFC-2600: −15 D to +10 D without the compensation lens; −30 D to −10 D or +5 D to +30 D with it. MiiS: −20 to +20 D. |
| Alignment and focus | Automatic tracking and autofocus reduce operator-to-operator variation. | EFC-2600: fully automatic 3D tracking. MiiS: automatic or manual focus. |
| Flash control | Adjustable flash lets you correct over- or under-exposure without a new setup. | EFC-2600: 10 flash intensity levels, manual setting, plus auto exposure. |
| Fixation targets | Internal targets make disc-centred, macula-centred and peripheral fields repeatable. | EFC-2600: ten internal points. MiiS: seven. |
| Output | Decides how images reach the chart. | EFC-2600: JPEG, PNG, DICOM (optional); USB 2.0, Ethernet, HDMI. MiiS: JPEG stills, H.265 video. |
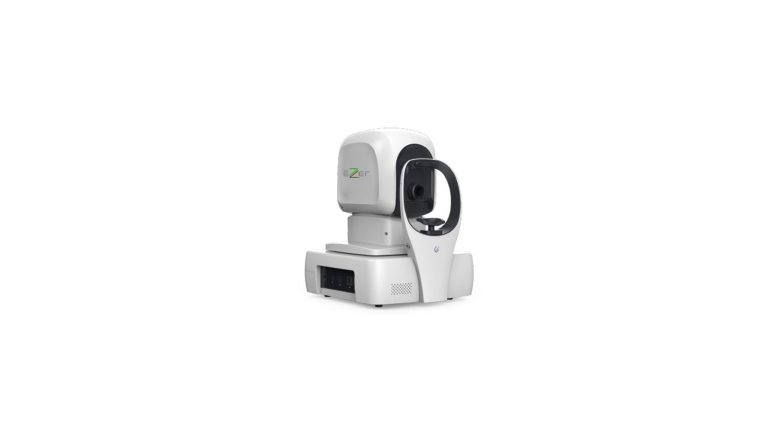
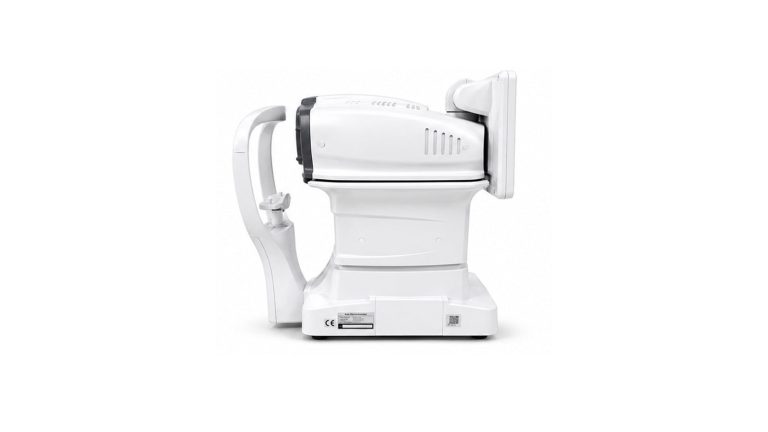
Table-top cameras such as the Ezer EFC-2600 non-mydriatic retinal camera trade portability for stability: a chin rest, a motorized chin-rest movement and automatic tracking. Handheld options such as the MiiS fundus camera (450 g, battery operation of 1.5 to 4.5 hours depending on the lens) or the Ezer EZ-Horus 45° non-mydriatic lens go where the patient is, but ask more of the operator. The Community Eye Health Journal notes that most table-top cameras “come with automatic image-capturing capabilities that make them easy to use with relatively little training”, while some hand-held cameras “may require more manual input to achieve good images”. You can compare the full range in our retinal and fundus camera collection.
Set up the room before the first patient
Lighting
Room light is the cheapest image-quality lever you have. A brightly lit room, per the Community Eye Health Journal, “may cause the image to appear over-exposed at the centre, and darker or opaque at the outer edges. It is therefore better to take the photographs in a darkened room.” The reason is the pupil: non-mydriatic cameras focus with infrared light, so a dim room lets the pupil open naturally before the visible flash fires. EyeWiki’s teleophthalmology entry describes the same approach: low light is used to induce physiological dilation instead of drops.
How long to wait is a judgment call. One published comparison of handheld and table-top non-mydriatic cameras imaged every subject “in a completely dark room” and allowed two minutes of dark adaptation before the first image. Use it as a practical starting point, not a rule.
Furniture and placement
Put the camera on a height-adjustable instrument table, with a chair that lets the patient sit upright and lean in without straining. The CEHJ guidance specifically recommends a height-adjustable chair or table to position the chin and forehead correctly. Leave room for the operator to sit square to the screen, and keep the camera away from windows and overhead task lights. For space, power and table planning on the EFC-2600 specifically, see our EFC-2600 deep dive.
Lens hygiene
Clean the objective lens at the start of every session and whenever an artefact appears. Eyelashes, dust, saliva droplets from talking over the lens and fingerprints “cause some of the more common artefacts seen in retinal images,” according to the CEHJ. One manufacturer’s troubleshooting guide is blunt about the signature: black spots that appear in the same place on every image mean dirt or dust on the objective lens.
Step-by-step capture workflow
- Prepare the patient. Explain what will happen, and tell them to expect a flash of light. Ask about contact lenses; one camera manual’s troubleshooting section lists contact lenses as a cause of poor images and advises removing them.
- Enter the patient ID first. Make sure every image carries a patient identifier and the correct eye label (right or left). The CEHJ notes that the patient ID on the image is one of several retinal imaging standards included in DICOM.
- Position. Chin firmly on the rest and forehead against the band. Ask the patient to blink, then keep both eyes wide open until the image is taken. For droopy lids, gently hold up the upper lid. If the patient struggles to fixate, the CEHJ suggests patching the eye with poorer vision.
- Align and set working distance. Centre the pupil on the screen and bring the camera to the working distance. On manual systems, the working-distance dots or markers look sharpest at the correct distance. On the EFC-2600, the 3D tracking does this automatically and the software instructs the patient to look at the green fixation light.
- Focus. Use autofocus where available. On manual-focus cameras, split-line focusing is common: align the two lines into one. High refractive errors may need the camera’s compensation lens.
- Capture the standard fields. Decide your protocol in advance (see below) and use the internal fixation targets so each field is repeatable.
- Check the image before moving on. Zoom in on the disc, macula and vessels. If the image fails your grading threshold, retake it now rather than recalling the patient.
- Switch eyes and repeat. Give the pupil time to recover after each flash (see the next section).
Flash, pupils and the order you shoot in
The flash constricts the pupil, so the order and timing of captures matter on an undilated eye. The handheld-vs-table-top study cited above set a 40-second pause between photographs, timed by an integrated timer, “to allow for sufficient pupil relaxation after the camera flash.” The same authors found that at pupil diameters of 3.0 mm or more, 82% of images reached their quality threshold, compared with only 25% when the pupil was smaller. Their practical conclusion: for a good set of usable images, the pupil should be at least 3.0 mm.
Spec sheets set similar floors. The EFC-2600 lists a 4.0 mm minimum pupil. A Canon CR-2 PLUS AF manual lists 4.0 mm, or 3.3 mm with its small-pupil photography function. That same manual includes a warning worth copying into your own protocol: do not use small-pupil mode when the pupil is already large enough, because the image will be overexposed.
Two habits follow from this:
- Shoot the field you need most first. The pupil is at its largest before the first flash.
- Start with the flash low and step up. If an image is dark, raise the flash level before you reach for drops. Cameras with adjustable flash, such as the EFC-2600’s ten levels, make this a one-tap correction.
Which fields to capture
Agree on a protocol so every operator captures the same thing. The common options are:
- Two fields per eye, 45°: one centred on the optic disc and one on the macula. The CEHJ describes this as the usual approach, and a review in the Indian Journal of Ophthalmology calls two-field 45° images a less time-consuming alternative to seven-field photography.
- Single field per eye: one 45° image centred on the macula and including the disc, used in some primary-care programs.
- Seven fields (ETDRS): seven stereoscopic 30° fields, covering 75° of the retina. This is the research reference standard and is far more demanding to capture.
- Mosaic or montage: several fields stitched together for a wider view. The EFC-2600’s mosaic function uses its ten fixation targets to build one.
Field of view changes the maths. A 30° field covers a retinal area of 56.4 mm², and a 45° field covers 124.8 mm². That is a big part of why 45° cameras dominate primary-care workflows. If your practice needs coverage far beyond the posterior pole in a single capture, that is a different class of camera; see our guide to ultra-widefield retinal imaging.
Common artefacts and how to fix them
Most retakes trace back to a handful of causes. The table below combines the CEHJ guidance with one manufacturer’s troubleshooting pages (Canon CR-2 PLUS AF manual). Exact behaviour varies by model, so check your own camera’s manual.
| What you see | Likely cause | Fix |
|---|---|---|
| White flare around the edges | Camera too far from the eye | Move the objective lens closer |
| Orange flare around the edges | Camera too close to the eye | Move the objective lens back |
| Flare on one side only | Camera offset to that side | Move the lens toward the opposite side to re-centre |
| Bright centre, dark or hazy edges | Room too bright | Darken the room and allow time for the pupil to open |
| Dark, blurred image | Pupil too small | Wait longer in the dark, raise flash, use small-pupil mode if the pupil is below the standard minimum, or follow your dilation protocol |
| Overexposed image | Flash too strong, or small-pupil mode used on a normal pupil | Lower the flash level; turn small-pupil mode off |
| Shadow across the top of the image | Eyelashes or a droopy lid | Ask the patient to open wider, or hold the lid up gently |
| Same black spots on every image | Dust or dirt on the objective lens | Clean the lens |
| Soft focus across the whole field | Focus not set, eye movement, or a refractive error outside the focus range | Refocus, steady fixation, and use the compensation lens if needed |
| Hazy image that does not improve | Media opacity | Mark it ungradable and follow your referral protocol |
A dim working-distance marker is also on the list: one manual notes that if the working-distance dots are hard to see, the observation light is too bright and should be turned down. The same manual recommends the lowest observation-light level that still works, for patient comfort.
How many images will be ungradable, and what to do about it
Plan for retakes. They are part of the workflow, not a sign that it has failed. Published rates vary widely with the population, the camera and whether pupils are dilated:
- A 2024 teleophthalmology study captured 1,328 non-mydriatic images in five rural clinics. 41.0% were graded excellent, 28.2% good and 30.8% poor. Older age, cataracts, pseudophakia and diabetes were risk factors for poor image quality.
- A 2021 review summarised several studies. In one, dilating the pupils cut ungradable photographs from 26% to 5%. In another, 14% of undilated and 3.7% of dilated images were ungradable. In a third, 15.3–17.6% of non-mydriatic images were ungradable, compared with 1.4–2.1% of mydriatic images.
The practical answer used in some programs is staged dilation: try undilated first, and dilate only the patients whose undilated images are poor. The same review notes that Scotland built this into its screening program. It keeps throughput high for most patients and saves drops for the ones who need them. Whatever you decide, write it down so every operator follows the same rule for when to retake, when to dilate and when to mark an image ungradable.
Who on staff should run the camera
Fundus photography does not have to sit with the doctor. EyeWiki notes that non-mydriatic photography can be done with minimal training in primary care settings. Published programs have used a range of operators. In one, clinic staff were trained for three months before capturing images. In another, a doctor with no imaging experience trained in one practical session on three patients, and the study found no significant learning effect over the first 100 patients.
That said, automation on the camera matters more for a rotating front-desk or tech team than for a dedicated photographer. A short checklist helps every operator: room lights, patient ID, positioning, fields, and the quality check. So does a weekly review of retake rates by operator.
Getting images into the chart
Decide where images live before the camera goes live:
- Format. JPEG and PNG are universal. DICOM carries patient and eye metadata in a standard structure. The EFC-2600 exports JPEG and PNG, with DICOM available as an option.
- Connection. Ethernet or USB to a workstation or network share; HDMI for a second display in the lane. Handheld cameras may transfer over USB or a wireless link instead; check the spec sheet.
- Labelling. Confirm eye laterality and patient ID survive the export. Mislabelled right/left images cost more than retakes.
- Comparison over time. Side-by-side comparison of images from different visits is only useful if fields are captured consistently, which is another reason to standardise the protocol.
Ask your EHR vendor which formats and import paths they support, and confirm the camera’s output options match before you buy.
Total cost of ownership is mostly workflow
The purchase is the visible cost. The hidden cost of fundus photography is retake time, drops you did not need to use, and images that do not reach the chart. When you compare cameras, compare the features that cut those costs: automatic alignment and focus, adjustable flash, internal fixation targets, the minimum pupil size, and output formats that match your records system. A camera that a new hire can run well in week one is worth more than one that only your best tech can operate. For model-by-model comparisons, see our non-mydriatic fundus camera comparison.
US Ophthalmic manufactures the Ezer line and supports it with an in-house technical and spare-parts department in the US, plus warranty and service. If you are adding fundus photography or replacing a camera, our team can help you match the camera to your room, staff and records system. REQUEST QUOTE, and ask about financing and open-box availability.
Ready to spec your Browse retinal & fundus cameras?
Send us your requirements and our equipment specialists will come back with a configuration built around how your practice actually works — including availability and lead time. US Ophthalmic is a direct provider to eye care practices nationwide.
See all Browse retinal & fundus cameras from US Ophthalmic →
Frequently asked questions
What is fundus photography?
Fundus photography is the capture of a photograph of the back of the eye. A standard image shows the optic disc, the macula and the retinal blood vessels. Most practice cameras capture a 30° to 45° field per image, and several fields can be combined into a wider view.
Do you need to dilate the pupil for fundus photography?
Not always. Non-mydriatic cameras focus with infrared light so the pupil can open in a dim room, then fire a flash to take the image. Camera spec sheets list a minimum pupil size (4.0 mm for the Ezer EFC-2600). Published studies consistently report fewer ungradable images with dilation, so many practices try undilated first and dilate only when the images are poor.
Why do my fundus photos have white or orange edges?
Edge flare usually means the working distance is wrong. In one manufacturer’s troubleshooting guide, white flare around the edges means the camera is too far from the eye, orange flare means it is too close, and flare on one side means the camera is off-centre toward that side.
How many fundus photographs should be taken per eye?
It depends on your protocol. A common routine is two 45° images per eye, one centred on the optic disc and one on the macula. Some programs use a single macula-centred image that includes the disc. The ETDRS research standard uses seven 30° fields.
How long should you wait between fundus photos?
Long enough for the pupil to recover from the flash. There is no universal number. One published study used a 40-second pause between photographs and two minutes of dark adaptation before the first image.
Can a technician take fundus photographs?
Yes. Non-mydriatic photography can be done by trained non-physician staff. Table-top cameras with automatic alignment and focus need relatively little training, while handheld cameras usually need more practice to get consistent images.
Should I buy a new or refurbished fundus camera?
US Ophthalmic sells new equipment and does not sell refurbished or used cameras. If budget is the concern, ask about open-box units and financing when you request a quote.
Sources
- Tench-Norbal S. “Taking good retinal images for DR screening: considerations and practical tips.” Community Eye Health Journal 2023;36(119):6. cehjournal.org
- Bascaran C. “Key considerations when choosing a retinal camera for diabetic retinopathy screening.” Community Eye Health Journal 2023;36(119):4-5. cehjournal.org
- Canon CR-2 PLUS AF user manual, operating, troubleshooting and specification pages (manualsdir.com mirror).
- Gosheva M et al. “Quality and learning curve of handheld versus stand-alone non-mydriatic cameras.” Clin Ophthalmol 2017;11:1601-1606. europepmc.org/article/PMC/PMC5587188
- “The Assessment of Retinal Image Quality Using a Non-Mydriatic Fundus Camera in a Teleophthalmologic Platform.” Diagnostics 2024. europepmc.org/article/PMC/PMC11275639
- “Imaging Modalities Employed in Diabetic Retinopathy Screening: A Review and Meta-Analysis.” Diagnostics 2021. europepmc.org/article/PMC/PMC8535170
- “Current status and future possibilities of retinal imaging…” Indian J Ophthalmol 2021. europepmc.org/article/PMC/PMC8725126
- “Image quality comparison of AirDoc portable retina camera versus Eyer…” Int J Retina Vitreous 2024. europepmc.org/article/PMC/PMC11177418
- EyeWiki: “Diabetic Retinopathy Screening” and “Teleophthalmology.”
- US Ophthalmic product specifications: Ezer EFC-2600, MiiS fundus camera, Ezer EZ-Horus 45° lens.